Bathroom Renovation
The new bathroom is complete!
Well…almost? We still have to repaint the trim, find modern black door handles, and get matching hampers (I put these on the wedding registry). I think the biggest lesson learned in this project is that home ownership is truly a never ending project. You have to allow yourself a “this is good enough” at some point or it can be way too overwhelming, which is quite difficult for Drew and me who tend to live in the perfectionist realm. Nonetheless, this DIY (mostly) bathroom renovation was so much fun! We dreamed, learned, laughed, worked, stressed, and did our first real adult thing together :’). It took longer than planned - about 20 weeks from our first “demo day” - but those weeks included a combined 2 months of time away from home between us and two weeks of Christmas Break. Plus, we still needed to go on adventures and ski, of course! Overall, this bathroom project will always be such a special memory and we’re so lucky to have this nice room to enjoy for however long we live in Colorado Springs.
Below I shared the before, during and after photos, where we shopped, how we budgeted, and what we outsourced. Let’s get into it!
~~~~~
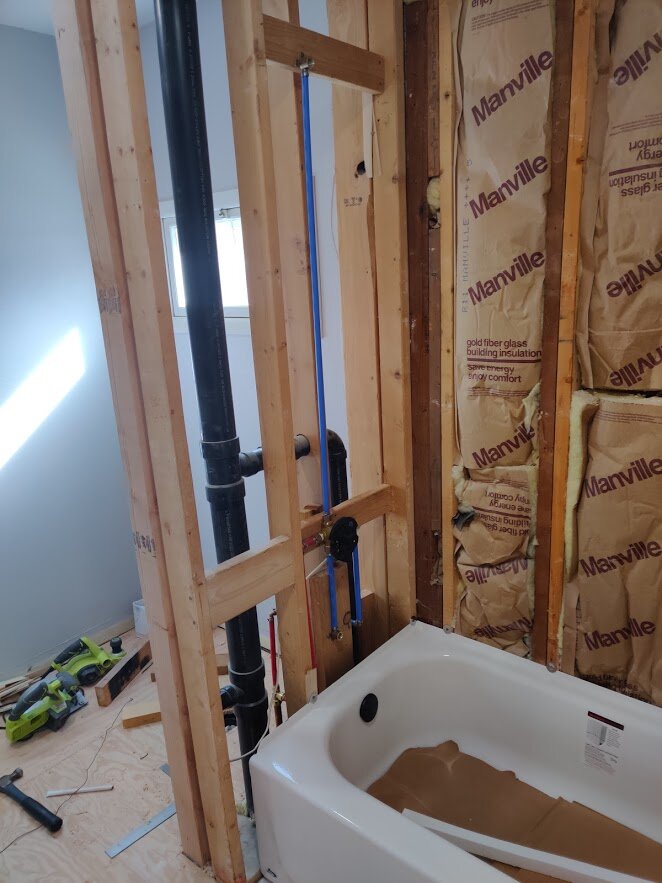
Before , During + After Photos
You can save any photos below to Pinterest in the top left of a photo. Follow me on Pinterest here if you want to see where I get my inspo! All bathroom pieces I could find are linked.
vanity mirror // vanity // cabinet pulls // towel rack set // vanity light
The look we were going for was a mix of Scandinavian and Modern with a hint of Bohemian (like usual in this house and my style in general). I loved the hipster look of the white subway tile with black grout and knew I wanted to carry the black/white theme throughout the room to bring lots of crispness. What I didn’t expect were the black floors, which might be my favorite part! I found the inspo on Pinterest and loved how it all tied together. In all truthfulness, I showed my vision board to Drew and he put it all into reality. He is so impressive and I’m so proud of him! Great husband material for sure ;)
~~~~~
Where We Shopped
Almost everything is linked for your reference below the photos, but these are the places we shopped:
Home Depot/Lowe’s: Honestly, you need to bounce between the two. When one doesn’t have something, the other one usually does! Since we went down to the sub-floor, there were many basic things we had to buy like pipes, nails, screws, wood, etc. We also got our vanity and toilet at Lowe’s and tile at Home Depot.
Overstock: Awesome for so many things, we bought our vanity mirror here.
Amazon: Perfect for cheap, little pieces like the toilet tray, soap dispensers, and towel racks.
Wayfair: If Amazon fails or you need something more specific like certain width vanity pulls, this is my first stop always.
~~~~~
The Budget
We tried to always update the Excel tracker, but got a little lazy toward the end. I’ll update this post when we finally tally it all up. In the meantime, here are the estimates:
Total Cost: $6,500 (includes contracted work)
Added Home Value: Avg 62% ROI, about $10,500
Cost if Contracted: $12,000 - 14,000
~~~~~
Outsourcing
Shower Tile: We felt good about doing the floors, but the we wanted the shower tile to be perfect and is much more difficult to hang. Cost: $8/sq ft, $640 total (we supplied all materials)
We fielded quotes for HVAC, plumbing, and drywall, but Drew ended up doing almost all of it with the exception of some help with the drywall. We heard how much it would cost to have someone do different pieces and the high prices would motivate us to get it done ourselves!
~~~~~
Thanks so much for checking out this post. I hope it inspires you to do some home reno! With a little YouTube, Pinterest, and HGTV, you can do anything - take it from us first-timers.
Want to know what’s next? Follow along on our Instagram. Speaking of Instagram, check out the “bathroom” highlight for the play-by-play of this project.
Any questions? Comment below & I’ll get back to you!


